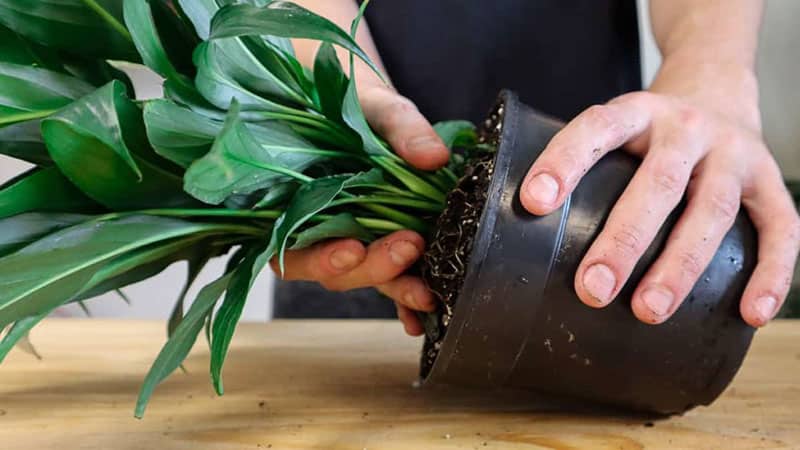
Discover everything you need to know about repotting peace lily in our comprehensive guide! Whether you’re a seasoned gardener or just starting out, learn why repotting is essential, how to spot signs your peace lily needs a new home, step-by-step instructions for repotting, and essential care tips for post-repotting success. Let’s give your peace lilies the rejuvenation they deserve!
Benefits of Repotting Peace Lily
Repotting your peace lily is crucial for a few key reasons:
Space
As your plant grows, its roots need more space to spread out and thrive. Repotting gives your peace lily a bigger container, allowing its roots to expand comfortably.
Fresh soil
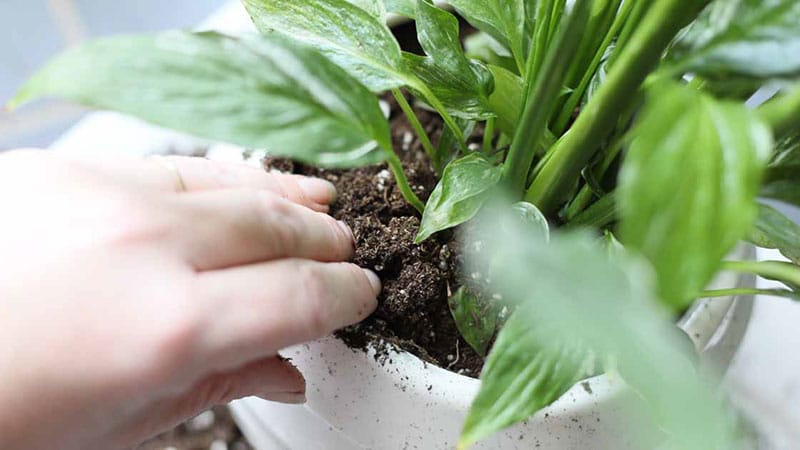
Over time, the nutrients in the soil can diminish, affecting your plant’s health. Repotting replaces the old soil with fresh, nutrient-rich soil, ensuring your peace lily gets the nourishment it requires to grow and flower.
Root health
When a peace lily’s roots become too crowded in its current pot, they struggle to absorb water and nutrients efficiently. Repotting prevents this issue, promoting healthier root growth and overall plant vitality.
Determining When to Repot Peace Lily
It is about two years since the last repotting
Usually, it’s best to repot it every two years unless it needs it sooner. The best time to do this is in the spring, but late winter or early summer can also be okay. During these times, the weather is good for the plant to start growing again after its resting period, to grow new leaves and flowers, and to be healthy. However, sometimes you might have to repot it right away if you see these signs:
Root rot
Root rot is a problem that can make your Peace Lily sick. When the leaves turn yellow, the plant screams for help because it’s drowning in its pot and can’t breathe properly.
If the leaves drooping, it’s another sign that something’s wrong. It’s like the plant is having a bad hair day and needs your help to fix it. If your Peace Lily looks sad and droopy instead of happy and healthy, it’s time to figure out what’s wrong.
If your Peace Lily isn’t growing like it should, it might be because it’s struggling with root rot. Instead of growing tall and strong, it might stay small and stubby.
Black spots on the leaves show that the plant has been fighting root rot in the past. And if the soil smells bad, like a sweaty gym bag, it’s a clear sign that something’s wrong. Like bad breath, a stinky pot means your plant is in trouble because of root rot.
Your peace lilies are too large
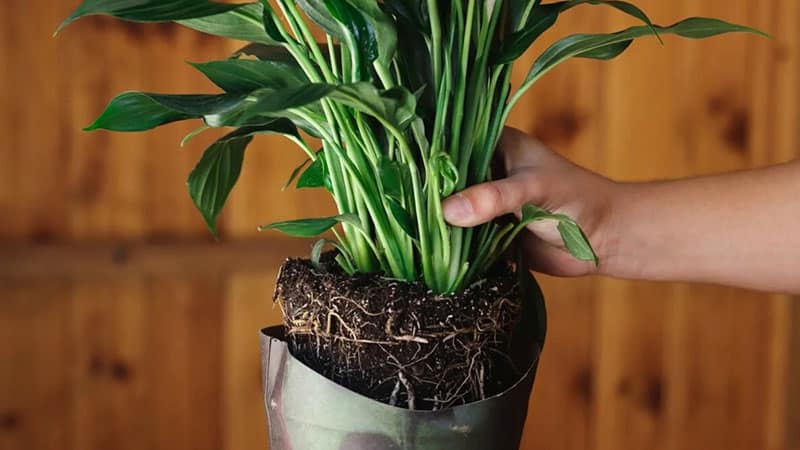
When the plant gets too big for its pot, it can’t grow properly, and the roots start to show above the soil or come out through the holes in the bottom. When the roots don’t have enough space to spread out, they push against the sides of the pot and make cracks.
Soil drying too quickly
If the soil in the pot becomes hard and dry and doesn’t allow air to get through, it’s time to repot the plant with fresh soil.
How to Repot a Peace Lily Step-by-Step
Before repotting Peace lily
Choose the best soil
Gently add a layer of potting mix to the bottom of the new pot, making it about an inch thick. Avoid packing it down too firmly. Choose a well-draining potting mix, preferably sandy, to suit your peace lily’s needs.
Select pot
The best size for your peace lily’s pot should be about 2 inches wider in diameter than the plant itself.
Water the plant
Before repotting, water the peace lily about an hour or two beforehand.
Prepare other tools and accessories
Get ready with other necessary tools and accessories for the repotting process:
Pebble tray: While not mandatory, using a pebble tray enhances drainage for your plant.
Garden shears or scissors: These are handy for cutting and trimming roots if required during repotting.
Gloves: Wearing gloves will help keep your hands clean throughout the process.
Disinfectant: Have rubbing alcohol on hand to sterilize sharp tools before use, ensuring cleanliness and preventing infection.
During repotting peace lily
Step 1: Remove the plant
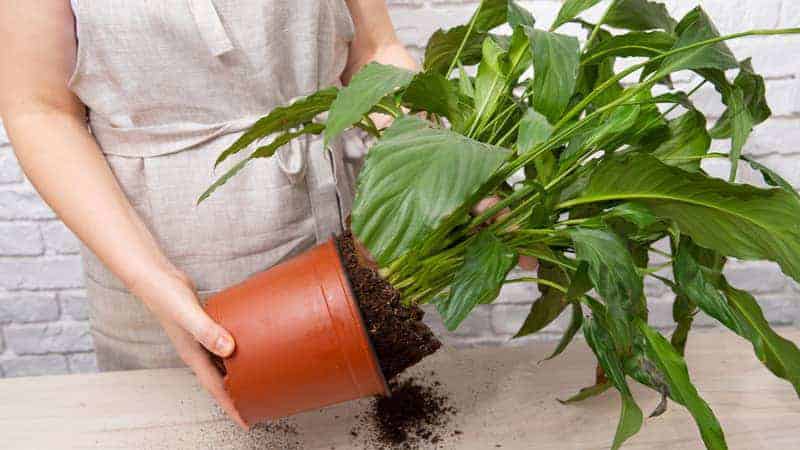
Carefully remove the peace lily from its existing pot by tilting it to the side and gently sliding the plant out of the old container.
Ensure to handle the plant delicately to avoid harming the roots.
Step 2: Check and trim the roots
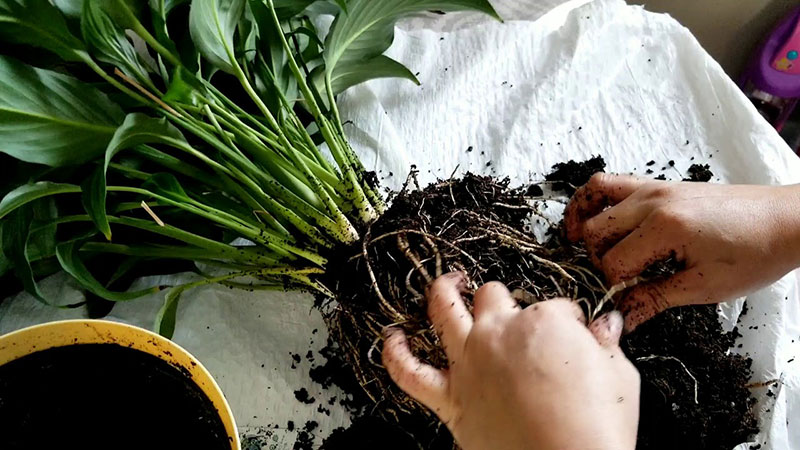
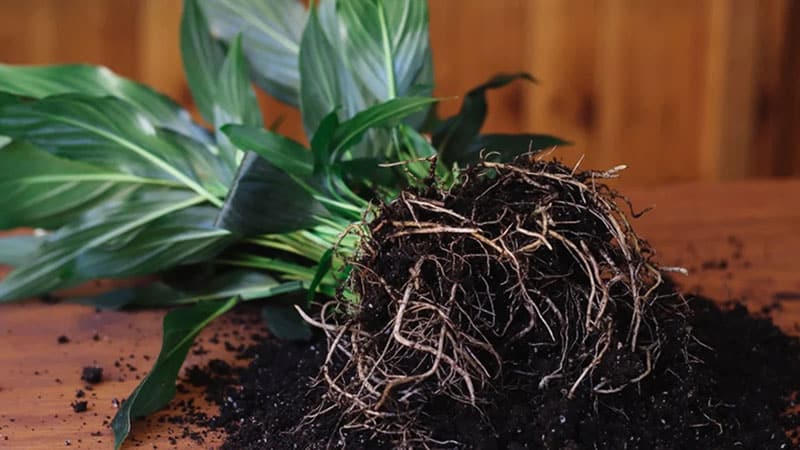
Carefully inspect the roots for any signs of rot or damage. Use clean, sharp scissors to trim away any unhealthy parts.
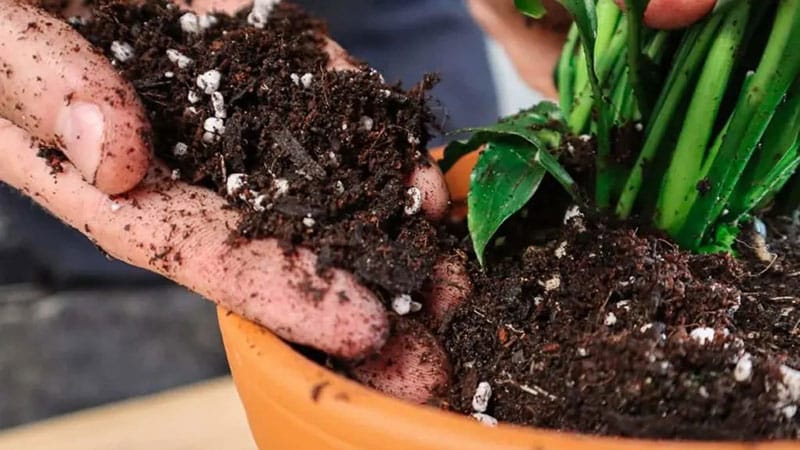
If you notice that the roots are tightly packed together (root-bound), gently separate them to promote new growth.
Step 3: Fill the new pot with soil
Add a layer of the prepared potting mix to the bottom of the new pot. Make sure that when the peace lily is placed in the pot, it sits at the same height as it did in the previous pot.
Step 4: Position the plant
Carefully place the peace lily in the new pot, spreading its roots out evenly over the layer of soil.
Step 5: Fill with soil
Carefully pour the remaining potting mix around the plant, pressing it down lightly to remove any air pockets. Leave approximately 2 centimeters of space between the soil’s surface and the pot’s rim to allow for watering.
Step 6: Water thoroughly
After repotting, thoroughly water your peace lily until you see excess water draining out from the bottom of the pot. This ensures that the soil settles around the roots properly.
After repotting peace lily
After repotting your peace lilies, providing proper care for your plant is crucial. Here’s what you need to do:
Watering Requirements:
To prevent transplant shock, thoroughly water the peace lily after repotting. Then, establish a watering schedule by hydrating the plant weekly or once every ten days. Avoid overwatering or underwatering by checking the top two inches of the soil. Only water the plant if the soil feels dry to the touch.
Light and Placement:
Peace lilies thrive in bright areas with indirect sunlight, preferably with partial shade. However, immediately after repotting, it’s advisable to keep the plant away from direct sunlight and place it in a shadier location. Allow the plant about a week to acclimate to its new environment before moving it to a spot with indirect or filtered sunlight, ideally near an east-facing window.
Temperature and Humidity:
Peace lilies flourish in environments with temperatures ranging from 65°F to 85°F and humidity levels between 50% and 60%. Extreme temperatures and humidity levels can have a detrimental effect on the plant’s health. Utilize your HVAC system to regulate indoor temperatures, and consider using a humidifier to create optimal growth conditions for your plant.
Fertilizing Requirements:
During the initial six weeks following repotting, refrain from fertilizing your peace lily. Once the plant has acclimated to its new pot, you can begin fertilizing it using a universal houseplant fertilizer. Always dilute the fertilizer as instructed before applying it to the plant, and administer it every 6-8 weeks for optimal growth.
Why Your Lily is Drooping After Repotting and How to Fix It
After repotting, it’s common for peace lilies to exhibit signs of stress, such as drooping. Here are some reasons why this might happen and how to address them:
Failure to Loosen and Prune Roots:
If you replanted the peace lily without loosening or pruning the root ball, it may struggle to establish itself in its new environment. To fix this, carefully loosen the roots and trim away any damaged or overly long roots before repotting.
Incorrect Watering:
Overwatering or underwatering can cause the soil to become waterlogged or parched, leading to drooping leaves. Ensure that you are watering your peace lily appropriately, allowing the soil to partially dry out between waterings. Adjust your watering frequency as needed to maintain optimal soil moisture.
Improper Pot Size:
Using a pot that is too large or too small for the plant can also contribute to drooping. Choose a pot that provides adequate space for the peace lily’s roots to grow but is not excessively large. Repot the plant into a more suitable container if necessary.
Inadequate Light:
If your peace lily is not receiving the proper amount of light after being transplanted, such as being placed in a location that receives too much direct sunlight, it may droop. Ensure your plant is positioned in a spot with indirect or filtered sunlight, especially during the adjustment period after repotting.
By addressing these potential issues, you can help your peace lily recover from the stress of repotting and regain its healthy appearance.
How Long Does It Take a Peace Lily to Recover After Repotting?
After you put a peace lily in a new pot, it might not look very strong or healthy. But if you take good care of it, the plant will improve within 1-2 weeks.
It’s important to know that if the plant’s leaves turn pale, they won’t return to being green. However, if the leaves are drooping or curling, or the plant is growing slowly, you can help it improve.
Just remember, it takes time and patience for the plant to recover. Keep giving it the care it needs – like watering it properly, keeping it in a place with indirect light, and ensuring the temperature is comfortable – and eventually, your plant will return to looking beautiful.
Final Thought
As you embark on the journey of repotting your peace lilies, remember that this process is an act of love and care for your plants. By providing them with a fresh start in a new pot, you’re setting them up for continued growth and vitality. Be patient and attentive to their needs as they adjust to their new environment, and remember that with proper care and attention, your peace lilies will reward you with their lush foliage and elegant blooms. May your repotting endeavors bring you closer to your plants and deepen your appreciation for the beauty and resilience of nature. Happy gardening!

