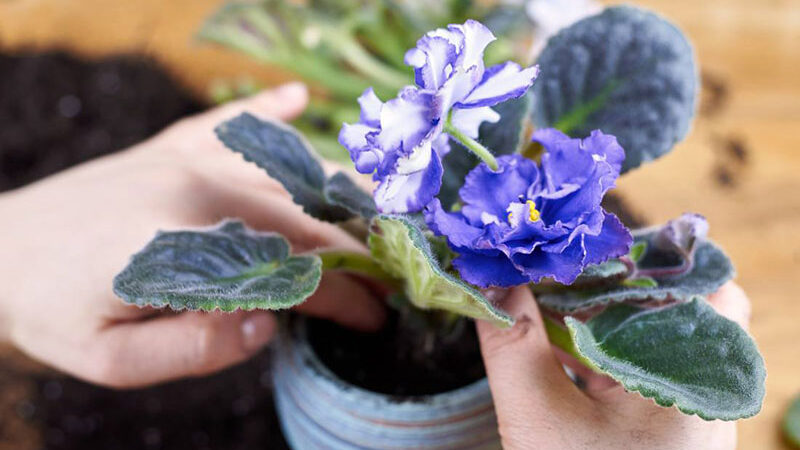
African violets are long-lived plants that can grace house plant collections for up to 50 years. Repotting African violets occasionally goes a long way toward keeping these plants healthy and blooming prolifically through the years. It is easy to do, but if you are new, you may have some questions such as how often should you repot or how you know when African violets need to be repotted. This beginner-friendly guide to African violet repotting is here to light the way!
When to repot African violets
It’s about 6 months since the last repotting
These plants thrive on the renewal provided by fresh soil, a practice recommended at regular intervals throughout the year. When assessing the timing for repotting, it is crucial to note that if six months or more have elapsed since the last repotting session for your African violet, it’s a clear indication that the soil is due for a refresh. This meticulous attention to the plant’s soil composition ensures a nutrient-rich environment, contributing significantly to its sustained health and
Your Plant is Root-Bound
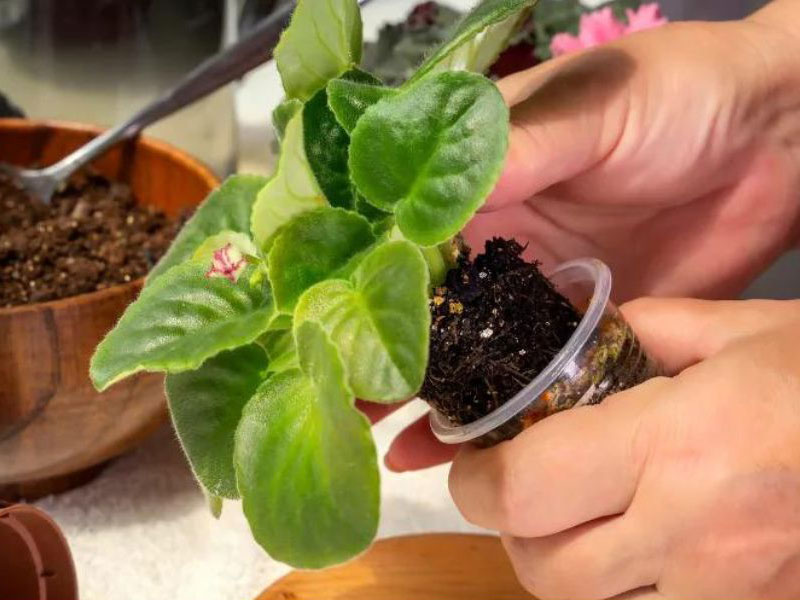
One potential concern is the development of a root-bound condition. Although African violets prefer a snug fit in their pots, they can eventually become entirely root-bound. This reputation is due to their tendency not to bloom until they reach a certain level of root binding. However, excessive confinement in the pot can hinder the plant’s growth and limit access to vital soil nutrients. If the roots have occupied all available space, preventing the growth of new roots, it is imperative to consider transplanting.
The Plant is Getting Too Large
Another sign prompting repotting is when your plant outgrows its current pot, leading to an unbalanced and easily tipped arrangement. Observe if the plant’s leaves extend well beyond the pot’s edge. To determine if it’s time to repot, measure the plant’s width at its widest part and divide this number by three. Then, measure the width of the pot. If the plant exceeds three times the width of the pot, it’s advisable to move it to a slightly larger pot. This ensures your plant has ample space for growth, promoting a healthier root system and overall well-being.
Plant Develops a “Neck”
As African Violets undergo growth, an intricate process unfolds wherein new leaves sprout from the apex of the crown, while lower leaves undergo a natural aging process and subsequently wither away. As this botanical evolution transpires, the crown of the plant gradually elevates itself from the soil surface, revealing a distinctive “neck” characterized by a bare stem below the cluster of leaves. While this phenomenon is entirely natural and indicative of the plant’s life cycle, certain aesthetic considerations may prompt your attention.
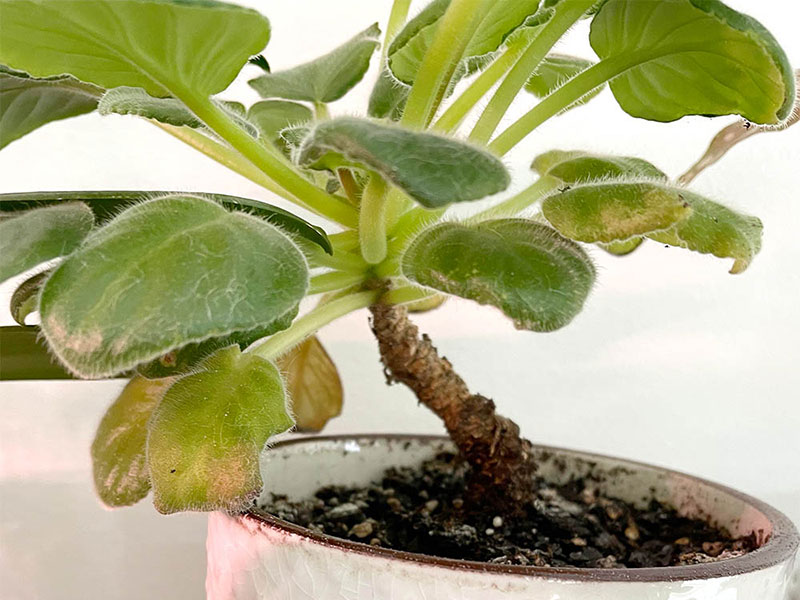
If your African Violet has developed an elongated neck, giving it a somewhat lanky appearance that doesn’t align with your aesthetic preferences, this presents an opportune moment to consider repotting. By engaging in this meticulous horticultural practice, you can not only address the plant’s cosmetic concerns but also foster its continued health and vitality. Repotting allows for adjustments in the plant’s posture, encouraging a more aesthetically pleasing and balanced presentation while ensuring optimal conditions for sustained growth.
Growth is Slowing
The progression of a thriving African Violet is marked by a discernible growth pattern. Initially, vibrant new leaves gracefully emerge from the crown, exhibiting a robust and steady development. However, as time elapses, a noteworthy shift in growth dynamics may become apparent. The once-steady growth may either decelerate dramatically or seemingly come to a standstill.
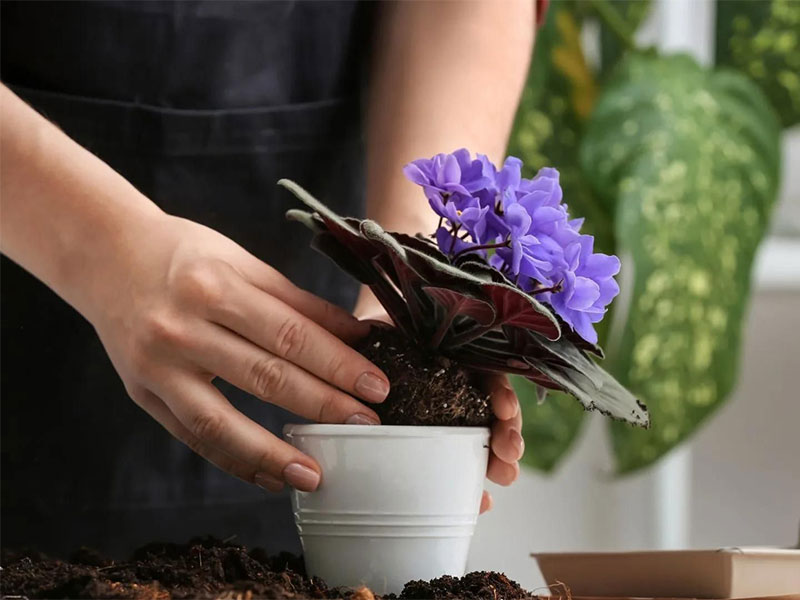
This stagnation in growth serves as a subtle yet crucial signal, urging a closer inspection and thoughtful intervention. While it could signify a nutritional deficiency, manifesting as a need for fertilizer, it also prompts consideration of the plant’s overall habitat. A detailed analysis reveals that, after approximately six months, the soil conditions surrounding the African Violet might warrant reevaluation.
In-depth horticultural care involves recognizing the intricate cues of plant behavior. In the case of slowed growth, especially if it has been more than half a year since the last repotting session, it strongly suggests that the plant is signaling a demand for a new environment. This strategic repotting, complemented by the introduction of fresh soil, emerges as a holistic approach to invigorate the plant’s vitality and reignite a consistent and healthy growth trajectory.
Lack of Blooms
Several potential factors could contribute to your African Violet ceasing to flower. While these plants naturally take intermittent breaks from blooming, an extended absence of flowers may be indicative of underlying issues. Unfavorable temperature extremes, nutrient deficiencies that can be remedied with fertilizer, or the presence of root rot are some possibilities.
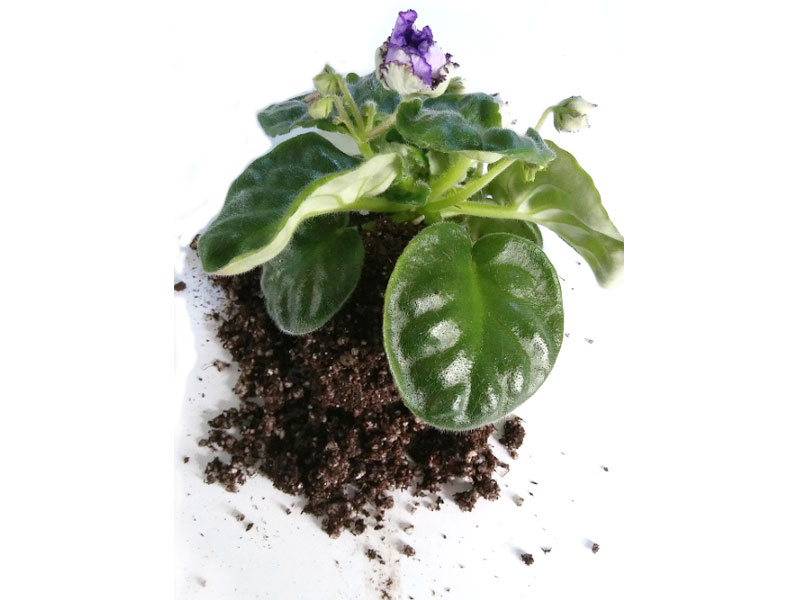
If environmental conditions align, and your African Violet remains flowerless for an extended period, consider the holistic approach of repotting. Plants, over time, deplete the essential nutrients in their soil, leading to sluggish growth and diminished flowering capacity. To address this, meticulously extract the loose, depleted soil from the root mass and transfer your plant to a fresh soil-filled pot. This comprehensive measure not only rejuvenates the soil’s nutrient content but also promotes a conducive environment for robust growth and renewed flowering.
Pale or Limp Leaves
If you notice that your plant’s leaves are becoming pale, yet the overall plant health seems satisfactory, providing a dose of fertilizer might be the remedy. On the other hand, if the leaves exhibit signs of wilting and the soil appears completely dry, a thorough watering may be the solution. Additionally, exposure to very cold temperatures can lead to limp leaves.
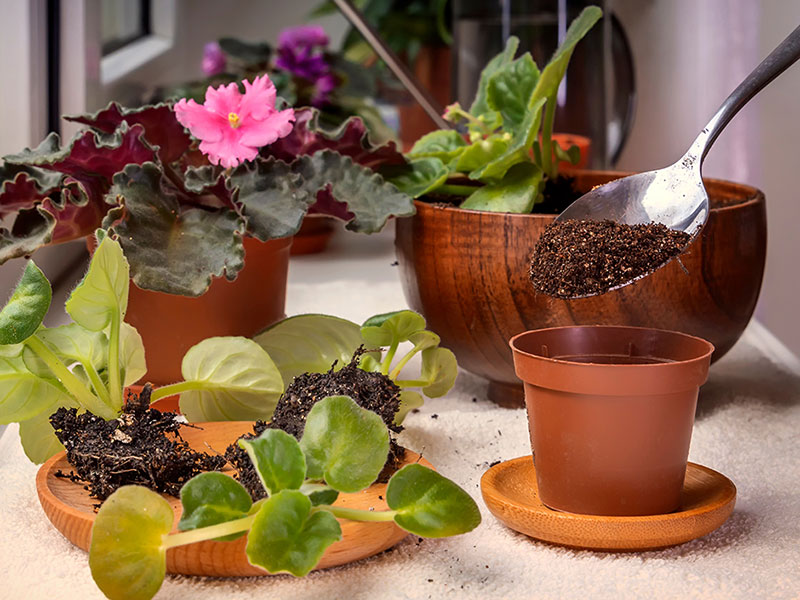
If the aforementioned reasons can be ruled out and your plant still displays symptoms of pale or limp leaves, a more detailed investigation is warranted. Carefully extract the plant from its pot to assess the root system.
Should the soil exhibit prolonged dampness, the plant might be grappling with root rot, leading to pale or drooping leaves. In this scenario, prune any roots or leaves that appear dead, mushy, or discolored, and repot the plant with fresh soil to promote recovery. This meticulous approach ensures the plant’s optimal health by addressing potential issues at its roots.
How to Repot African Violets
Normal Process
1. Preparation
Before delving into the repotting process, start by organizing your tools and setting up a suitable workspace. Decide whether your African Violet will return to its existing pot or move to a different-sized container.
If you decide to repot your African violet plant into a previously used pot or planter, it is crucial to prioritize the sterilization of the container. Older pots may potentially contain harmful nematodes or bacteria, posing risks to the health and growth of your African violets. To ensure a clean environment for your plants, an effective method involves submerging the old pots in a 10% bleach solution for 30 minutes.
When you want to repot your plant into a new pot, remember to choose the right size. If the plant is root-bound, opting for a slightly larger pot can contribute to its well-being. Conversely, downsizing may be beneficial if the plant is struggling to bloom or if the soil retains excessive moisture.
Houseplant Pro Tip: African violets thrive best in containers approximately one-third the diameter of the spread of their leaves.
Scrub-a-Dub:
Given that African violet repotting presents an opportune moment for pests and diseases to find new hosts, take precautions. Disinfect your tools and pots, wash your hands thoroughly, and wipe down the workspace to create a hygienic environment.
2. Remove Your African Violet
Begin the extraction process. If your plant resides in a porous container like a clay pot, consider watering it first. However, be cautious, as watering can make plants more susceptible to repotting injuries. For less porous containers such as plastic or ceramic, it’s advisable to postpone watering until after the repotting is complete.
One Good Tug:
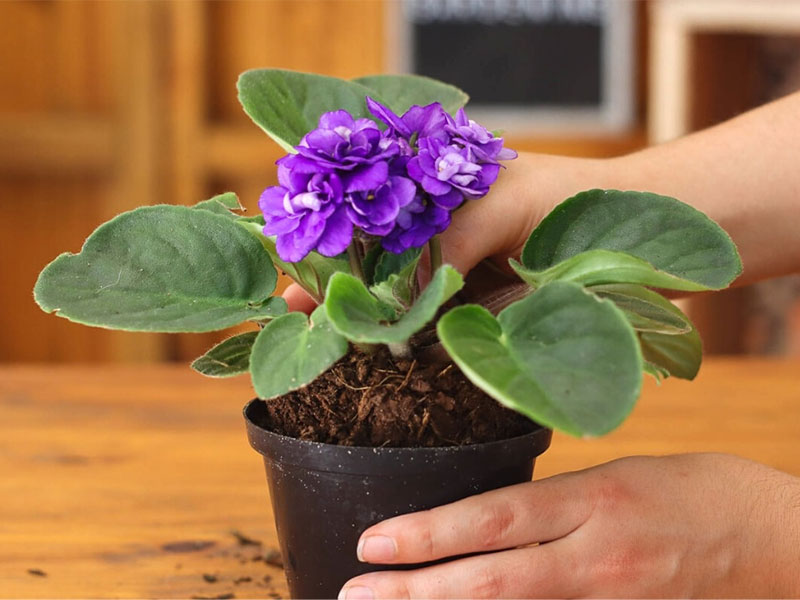
Hold the African violet at its base, grasping as much of the crown as possible. Tilt the pot sideways or upside down, tapping the bottom. If the plant doesn’t easily come out, insert your finger through the drainage hole and gently push it out.
3. Tend to the Roots
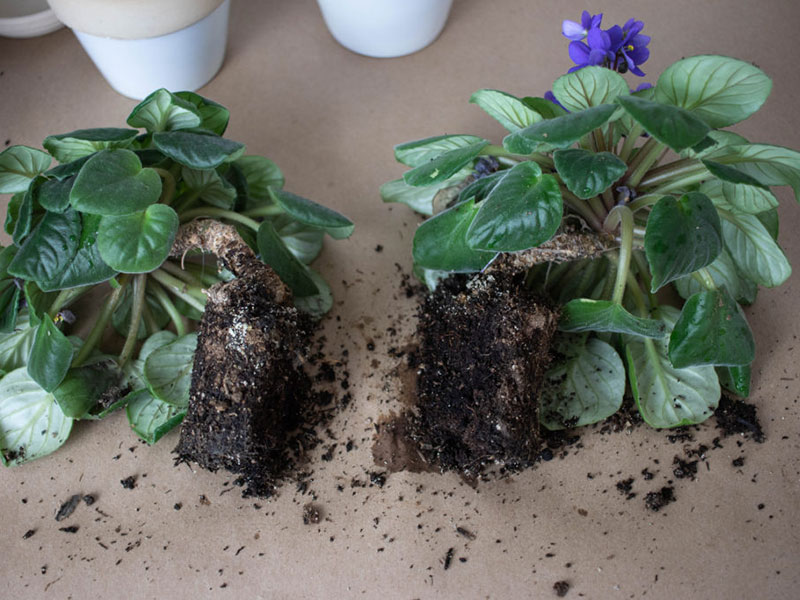
Cleanse the root ball by gently removing soil with your hands, a small rake, or a soft toothbrush. Inspect the root ball for any black, brown, or mushy sections. If identified, trim them away, and consider applying a root rot treatment to prevent further decay.
4. Pretty Up Your Plant
After providing the roots with some care, proceed with a little grooming. Trim away damaged or dying leaves to redirect energy for rerooting. Given African violets’ tendency to grow unevenly, this is an ideal opportunity to trim irregular leaves and satellite suckers.
The More, the Merrier:
Don’t consider this the end for healthy leaves and suckers; try African violet propagation—it’s a straightforward process!
5. Repot Your African Violet
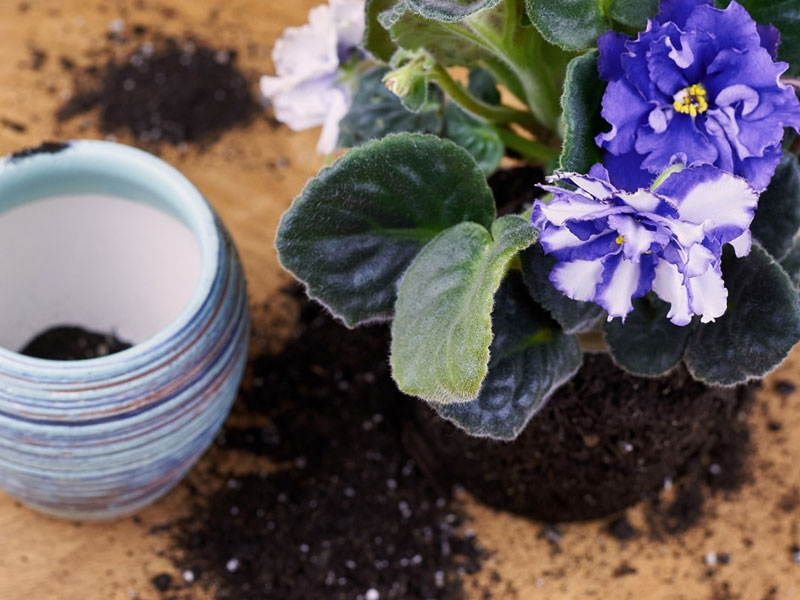
Add a thin layer of soil to the pot and place the root ball on top. Gently cover up to the base of the leaves, patting down just enough for stability (keep it loose!). Set the pot in a saucer of water, allowing the plant to absorb as much water as it needs.
What if Your African Violets Are Too Large
Splitting your African violets when repotting oversized specimens is an effective way to propagate new plants.
Begin by gently tapping the sides of the pot against a solid surface to ease the plant out. Once the plant is free, employ the knife to remove the bottom third of the root ball.
Delicately remove loose soil from the top and sides of the roots, ensuring their integrity.
With a sharp knife, divide the plant into two or three smaller sections, observing natural separation points and allocating as many roots as possible to each plant.
Carefully separate the plants, taking precautions to avoid damaging leaves or stems.
Use the knife to trim away any brown, wilted, or broken leaves, promoting the overall health of the newly split plants. This method allows you to not only refresh the existing plant but also create new, thriving African violet additions for your collection.
Repotting African Violets with Long Necks
Step 1 – Prune and Prep
Begin by removing any older leaves that are smaller than those above or show signs of fading, nicks, or damage. Typically, keep around 10 leaves in total, and eliminate all flowers.
Step 2 – Stem Treatment
Utilize the dull side of a knife to gently scrape approximately two inches of the stem just below the bottom row of leaves. This scraping serves to smooth off the stumps of removed leaves and eliminate the surface layer of any old dried tissue.
Step 3 – Top Amputation
Proceed to amputate the top half of the plant with a straight cut about one-and-a-half to two inches below the bottom row of leaves. Discard the bottom section of the plant, while the pot may be saved and washed for future use. If repotting for soil mealybug removal, seal the discarded roots in a container or bag.
Step 4 – Inspection for Rot
Examine the inside of the stem for any signs of rot. A brown pithy center, dried powdery center, or darkened mushy plant tissue indicates rot. Clean the knife and cut higher on the stem, avoiding the rot as long as the center leaves remain intact, giving the plant a chance.
Step 5 – Prepare the New Pot
Prepare a fresh pot with a light, porous potting mix. A recommended homemade mix comprises one part sphagnum peat moss, one part vermiculite, and one part perlite. Alternatively, use a commercial mix mixed half and half with coarse perlite. Moisturize the soil thoroughly and drain excess water.
Step 6 – Planting the Stem
Position the violet stem onto the top of the pot, ensuring good contact with the potting medium. If the stem is bent, plant it straight into the soil, as a bent stem beneath the soil may lead to peculiar growth patterns.
Step 7 – Enclose in Plastic
Place the plant in a clear plastic bag or container, sealing it tightly. Position it in a bright location away from direct sunlight. After about a month, new roots will form, and the plant will display fresh growth. No watering is necessary during this period.
Step 8 – Gradual Exposure:
Gradually open the bag or container over two days to slowly equalize humidity and prevent shock. Witness the rejuvenation of your plant with its new lease on life!
Bonus tips when repotting African violets
Add drainage holes
Whether you cultivate African violets in traditional pots or self-watering planters, it’s essential to ensure that the plant’s container features an ample number of drainage holes. The primary objective is to avert waterlogged soil, facilitating the leaching of accumulated salts and minerals from the potting mix.
Contrary to common belief, incorporating rocks or other items at the bottom of plant pots does not enhance drainage. Instead, if additional drainage holes are required, they can be easily added using a power drill and a masonry drill bit.
Try an azalea pot
African violets can thrive in various containers, including plastic, terra-cotta, or ceramic pots. However, for optimal happiness, consider planting them in azalea pots. These pots are specifically designed to be shallower than standard terra-cotta pots, perfectly catering to the short root systems of African violets. This design helps prevent overwatering, ensuring the ideal conditions for their growth.
Select quality potting mix.
When the time comes for the crucial task of repotting your African violets, opt for a freshly prepared potting mix with excellent drainage properties. While there are commercially available potting mixes specifically tailored for African violets, you can also craft your blend using components such as coconut coir (or peat moss), vermiculite, and perlite. Ensuring a loose and well-draining potting mix is of paramount importance for the well-being of African violets. These plants possess small and delicate roots that can be adversely affected by compact or heavy soil, so choosing a potting mix is a critical factor in supporting their health and vitality.
Water your plant
Upon completing the repotting process for your African violet, incorporating a nutrient-rich and well-draining potting mix, it is essential to provide the plant with a thorough watering session. This initial deep drink of water serves the purpose of aiding the plant in acclimating to its new environment.
However, it is crucial to monitor the soil moisture closely. Ideally, the soil should not remain consistently wet for an extended period, ideally not surpassing 15 to 20 minutes. If the soil retains excessive moisture beyond this timeframe, it indicates overwatering, a factor that should be avoided to maintain the optimal health of your African violet.
Boost humidity
Transplant shock is a potential concern for African violets, particularly when their roots undergo significant disturbance or pruning during the repotting process. To minimize the risk of transplant shock, consider employing a preventive measure: cover the freshly repotted African violet with a clear plastic bag or a humidity dome for a week. This protective measure serves to elevate humidity levels surrounding the plant, fostering a conducive environment for quicker acclimation and reducing the likelihood of the plant experiencing shock after repotting.
Final Thought
Indoor enjoyment of African violets is a delightful experience. In addition to providing them with sunlight and water, periodic repotting becomes necessary. Regular repotting is a beneficial practice to maintain the health and robustness of your plants.
Should you observe a decline in your plant’s vigor or notice signs of illness, repotting with fresh soil can be a remedial measure. Whenever engaging in repotting African violets, opt for fresh and clean soil specifically formulated for plants. Choose a clean pot with proper drainage to facilitate optimal growth conditions. With these steps, you can sit back and appreciate your plant’s revitalized energy!
FAQ:
Can you repot African violets when they are blooming?
It’s generally recommended to avoid repotting African violets while they are actively blooming, if possible. Repotting can be a stressful process for plants, and doing so during the blooming period may interrupt the flowering cycle and cause the plant some stress. If repotting is necessary, it’s often better to wait until the blooming cycle has finished.
However, if urgent repotting is required due to issues like root rot or an unsuitable growing medium, you can proceed with caution. Be gentle during the repotting process, and try to disturb the roots as little as possible. After repotting, continue to provide proper care to help the plant recover and resume its normal growth and blooming cycle.
Why is my African violet wilting after repotting?
Wilting after repotting could be due to various factors. Here are some common reasons why your African violet might be wilting after being repotted:
- Transplant Shock
- Overwatering or Underwatering
- Root Damage
- Inadequate Drainage
- Infection or Disease
Why are my flowers dying after repotting?
Several factors can contribute to African violet flowers dying after repotting. Here are some possible reasons:
- Transplant Shock
- Changes in Growing Conditions
- Root Disturbance
- Inadequate Watering
- Nutrient Imbalance
- Pot Size
- Pests or Diseases

