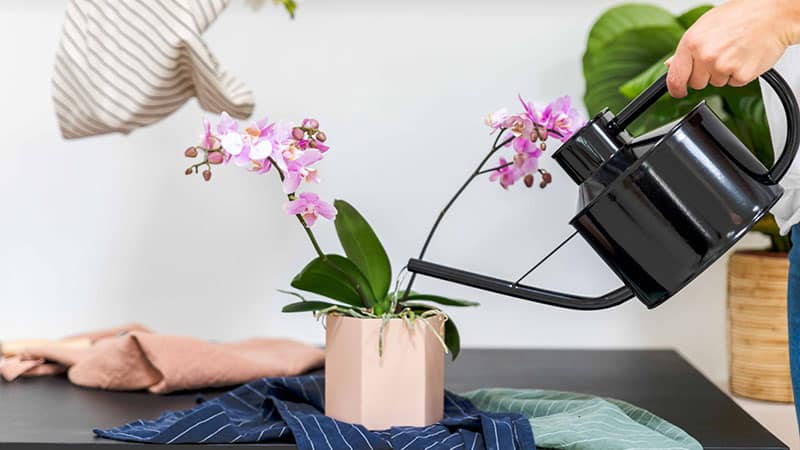
Welcome to our ultimate guide on watering orchids! Whether you’re a seasoned orchid enthusiast or just starting your journey with these exquisite plants, mastering the art of watering is crucial for their health and longevity, besides orchid light, orchid fertilizer and potting soil for orchids. Orchids, with their diverse species and unique growing conditions, often leave growers needing clarification when determining the proper watering regimen. In this comprehensive blog post, we’ll delve deep into the intricacies of orchid hydration, covering everything from understanding orchid anatomy to deciphering watering cues and exploring innovative watering techniques. Get ready to unlock the secrets of orchid watering and ensure your prized blooms thrive to their fullest potential. Let’s dive in!
How can you tell when your Orchid needs watering?
You have a few options to check if your Orchid needs water. First, look at the color of the roots. Grey roots mean it’s thirsty, while green ones indicate it’s hydrated. You can also feel the potting soil to see if it’s dry. Another method is the finger test: stick your finger in the soil; if it’s dry, water is needed.
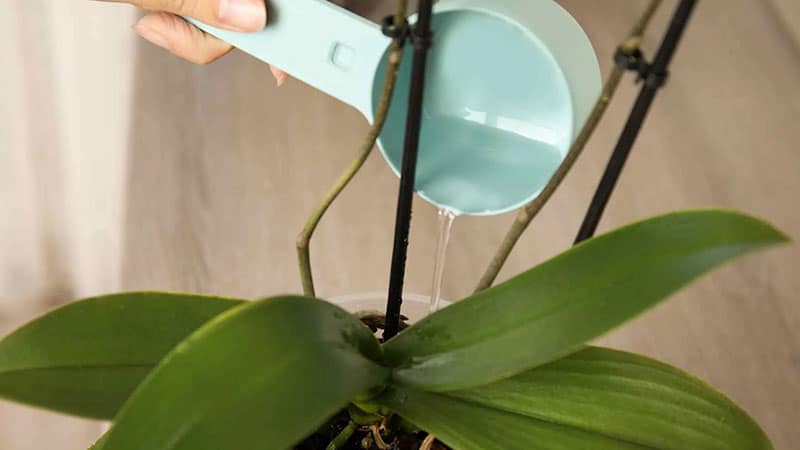
Similarly, a toothpick or chopstick can be used to check moisture levels. If the potting mix is dry or condensates on the pot’s sides, it’s time to water. If you’re new to orchids, waiting 14 days between watering is best to avoid problems.
How often to water Orchids?
An orchid’s watering needs vary based on the season and environmental factors. During winter, watering once a week is usually sufficient. In contrast, twice a week may be necessary in warmer and drier weather. However, keeping your Orchid from going without water for more than two to three weeks is crucial, as it could lead to its demise.
A popular method to keep orchids hydrated throughout the week is using three ice cubes per week, roughly equivalent to 1/4 cup of water. However, developing an adequate watering schedule requires considering several factors:
1. Species: Different orchid species have different watering requirements, so it’s essential to know your Orchid’s specific needs. Starting with one or two favorite varieties can help avoid the challenge of managing mixed watering needs and prevent over or underwatering.
2. Temperature: Generally, higher temperatures increase the Orchid’s water needs. Be mindful of temperature fluctuations and adjust your watering accordingly.
3. Humidity: Ambient humidity levels impact watering frequency. Higher humidity reduces the need for watering. Using methods like placing pots on trays of water-filled pebbles can help increase local humidity, benefiting your orchids.
4. Airflow: Orchids thrive in environments with good airflow around the roots (for mounted plants) and leaves. However, increased airflow can lead to quicker drying, necessitating more frequent watering.
5. Potting media materials: Different potting media retain water differently. For instance, pine bark nuggets retain moisture longer than charcoal or clay pellets. Understanding your potting media’s water retention capacity helps adjust your watering schedule accordingly.
Considering these factors, you can develop a watering schedule that meets your Orchid’s specific needs, promoting healthy growth and blooming.
What kind of water is best for Orchid
Choosing the proper water for your orchids is crucial for their health. Here’s a detailed breakdown:
1. Distilled water: This is the top choice because it’s free from dissolved solids and minerals that could harm your plants.
2. Rainwater: While pure, rainwater might not always be accessible. If using rainwater, make sure to pair it with a fertilizer designed for use with pure water, like MSU Orchid Fertilizer, to prevent acidity issues.
3. Reverse osmosis (RO) water: This type of purified water is similar to distilled water as it removes dissolved solids. However, be cautious when fertilizing, as there’s no buffering effect. Use a fertilizer formulated explicitly for pure water.
4. Tap water: Tap water quality varies widely, and some areas may have too many dissolved solids, making it unsuitable for orchids. Similarly, well water quality varies and may contain harmful substances.
5. pH levels: Aim for water with a pH between 5.5 and 6.5 to avoid nutrient imbalances or toxicity in your orchids. Regularly test the pH of the fertilizing solution and the orchid mix to ensure they fall within this optimal range.
In summary, prioritize distilled water for your orchids, followed by rainwater, RO water, and tap or well water. Always use a fertilizer suited for pure water types and monitor pH levels regularly for healthy orchid growth.
How to water Orchids in the right way
Watering Orchids Based on Their Roots
Understanding your Orchid’s roots is critical to proper watering. It’s generally safer to underwater than overwater, as constantly wet roots can lead to rot and decline.
Orchid roots are covered by a thin membrane called velamen. This membrane serves multiple functions: it absorbs water rapidly, adheres to surfaces, and facilitates mineral exchange. The condition of the velamen is a reliable indicator of your plant’s water requirements. Dry velamen appears white or silvery, while recently watered velamen is green or mottled, depending on the orchid species.
You can water orchids from either the top or bottom. Mounted plants typically need more water than those in pots. Standard orchid potting mixes include fir bark, tree fern fiber, sphagnum moss, perlite, and gravel. Understanding these nuances can help you tailor your watering approach to meet your Orchid’s needs.
How to water Orchids in Bark or Wood Chips
Orchids are typically planted in bark, wood chips, or specialized orchid bark mixes. Initially, bark repels water, but soaking the pot in a water container allows it to absorb and retain moisture.
Here’s a step-by-step watering method: Fill the container with water just below its rim and let it sit for approximately 10 minutes to saturate the bark thoroughly. Ensure proper drainage by allowing excess water to drain completely within this time. Keeping the pot from sitting in water for longer than necessary is crucial. Make sure the entire pot receives water evenly.
The frequency of watering orchids in bark typically ranges from every four to 10 days, depending on individual plant needs and how quickly the bark dries out.
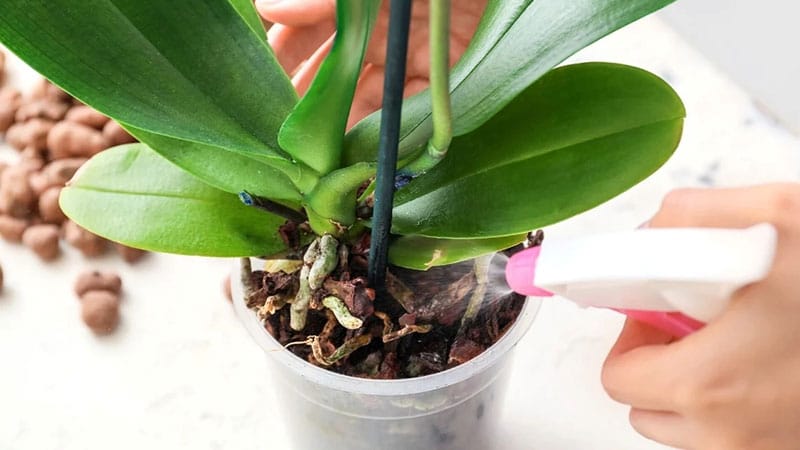
To gauge watering needs, assess the container’s weight; a properly watered plant will feel heavy. You can differentiate between a recently watered plant and one needing water by sensing the difference in weight. As the potting mix dries, the container becomes lighter. The weight of the pot serves as a reliable indicator of your Orchid’s hydration status.
Additionally, you can perform a simple finger test by inserting your finger into the bark, about two inches deep. If the bark feels dry at this depth, it’s time to water.
It’s advisable to replace orchid bark when roots start growing over the container’s edge or when the bark begins to disintegrate and become mushy, typically every two years. This ensures your Orchid has a fresh and suitable growing medium for continued health and vitality.
How to water Orchids in Moss
Sphagnum moss is a dense substrate with superior water retention compared to bark. While it’s excellent for young orchids, its compactness can hinder airflow, posing challenges for delicate root structures.
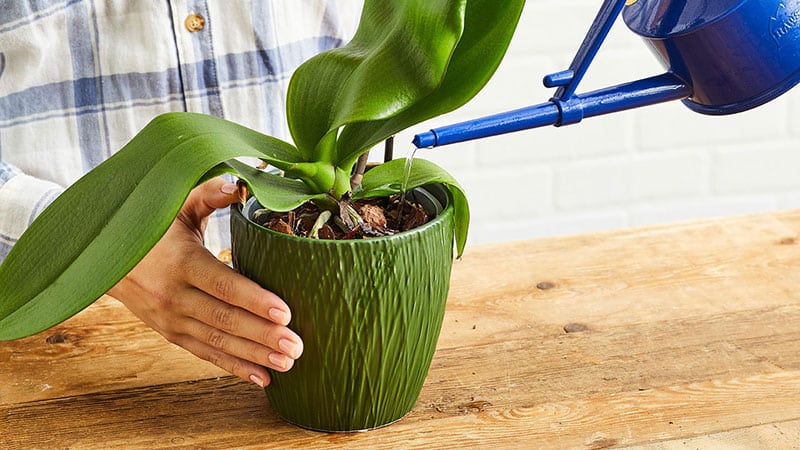
To properly water an orchid potted in sphagnum moss, it’s best to run the entire pot under a faucet until water freely flows through the drainage holes. However, it’s crucial to avoid saturating the Orchid’s water-sensitive crown, where the leaves attach to the stem, as this can lead to rot or other issues. Watering this way ensures thorough hydration while minimizing the risk of overwatering or damaging the plant.
How to water Orchids in other Potting Media
Common orchid potting media options include perlite, gravel, rock, and tree fern. Each material has its own advantages and disadvantages, ranging from water retention to decomposition rates and root aeration properties.
Tree Fern Fiber:
Derived from tree fern trunks, this fiber is a staple in many orchid potting mixes. While it initially retains water well, it loses this capability as it decomposes, compromising water retention and aeration. Unlike bark, it’s less woody but undergoes similar decay processes.
To water an orchid potted in tree fern fiber, thoroughly saturate it under a running faucet, allowing excess water to drain completely. As the fiber dries, it lightens in color, serving as a visual cue for when watering is needed.
Perlite:
Perlite, a sponge rock, is a volcanic glass treated with high heat. It doesn’t decompose or strip nutrients from plants but offers excellent water retention and aeration. It’s readily available in nurseries and garden centers.
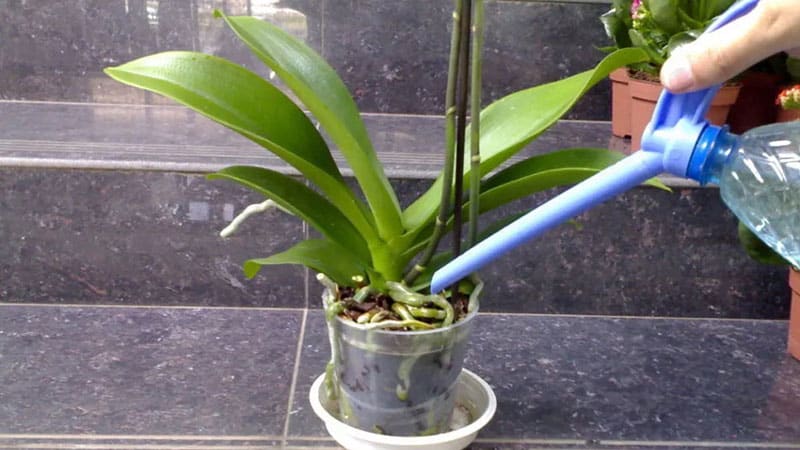
When using perlite alone, opt for a reservoir or self-watering pot to ensure consistent moisture levels. Refill the reservoir when it appears empty to maintain adequate hydration for your Orchid.
Gravel, Rocks, Charcoal, or Clay Pellets:
These materials are durable and reusable after sterilization. However, they don’t retain water effectively, rapidly drying the plant and roots.
Water once a week on schedule for orchids potted in gravel or rock-like substrates to prevent root desiccation. Water thoroughly under a slow-running faucet, allowing drainage for about 15 minutes afterward.
By understanding the characteristics of each potting medium and adapting your watering techniques accordingly, you can provide optimal growing conditions for your orchids.
Common Orchid Watering Mistakes
While orchids are often associated with tropical environments, it’s important to note that they’re not necessarily water-loving plants. Many popular orchids are tropical but epiphytic, meaning they grow on trees in their natural habitat. In these environments, they endure periods of heavy rain followed by extended dry spells.
When cultivating orchids at home, it’s unlikely you can perfectly replicate the conditions of a tropical forest canopy, including the ideal airflow, humidity, and light levels. With this in mind, it’s essential to avoid common watering mistakes:
1. Overwatering: Orchids should never be left sitting in stagnant water. In most cases, the plant should fully dry out between waterings to prevent root rot and other issues.
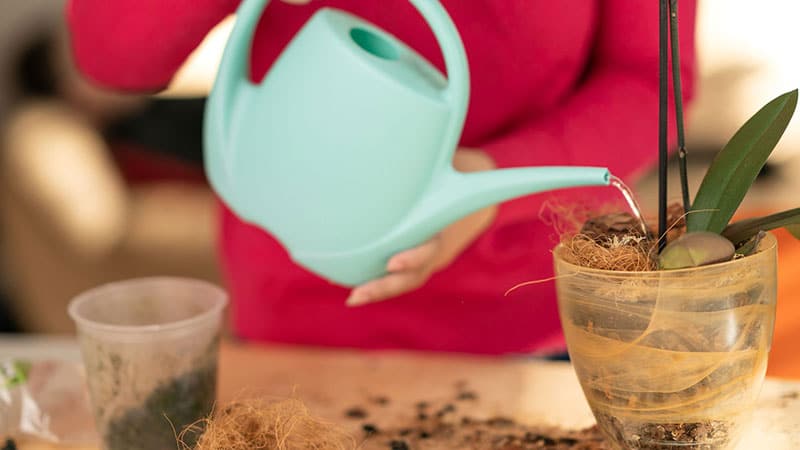
2. Watering at night: Always water in the morning regardless of the orchid type. Nighttime watering can stagnate growing tips or flower sheaths, promoting bacterial and fungal diseases. Orchids should enter the night with dry conditions.
3. Ignoring plant cues: Orchids often communicate their needs. During the growing season, pseudobulbs should appear plump, and leaves should be firm and upright. Some deciduous orchids may naturally shed leaves during winter, which is normal. Understanding the specific requirements of your orchid species is essential for proper care.
Paying attention to these cues and adjusting your watering practices accordingly can help your orchids thrive in a home environment.
Signs your Orchid has been Overwatered
Signs of an overwatered orchid include:
- Drooping or yellow leaves.
- Limp or leathery foliage.
- Pleated new growth.
- Mushy brown roots.
- A yellowing stem.
If you suspect overwatering, inspect the roots for signs of rot. Healthy roots are typically light green and flexible, whereas black and mushy roots indicate root rot, necessitating immediate action.
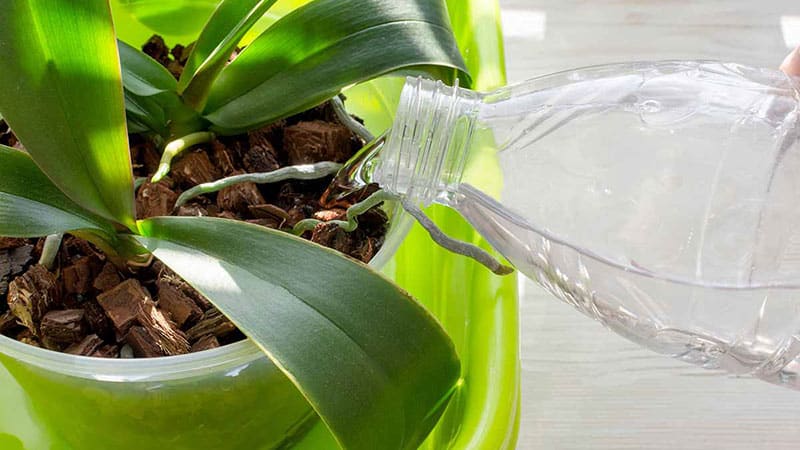
To remedy overwatering:
- Start by trimming diseased roots and treating the remaining ones with a fungicide.
- Repot the Orchid in a fresh potting mix primarily composed of bark, charcoal, and pumice to promote optimal air circulation around the roots.
- Water the Orchid once a week, allowing the potting medium to dry out between waterings to prevent future overwatering.
To prevent overwatering in the future, ensure the orchid pot has sufficient drainage holes to allow excess water to escape. Avoid obstructing the drainage holes with objects, and during repotting, clear any debris lodged in them. These measures help maintain proper drainage and prevent waterlogged conditions, reducing the risk of overwatering and its associated issues.
Watering Orchids while away from home
When you’re away from home for extended periods, there are strategies to ensure your Orchid stays healthy in your absence. One approach is to set up a self-watering system using either a wick or a watering bulb. Begin by filling a container with water and placing the wick or bulb in it. Then, insert the wick or bulb into the soil of your Orchid. This setup allows water to gradually seep into the soil, maintaining hydration levels while you’re away.
Alternatively, you can soak your Orchid before your departure. Fill a container or sink with room temperature water and immerse your Orchid for approximately 10-15 minutes. Afterward, allow the Orchid to drain completely before returning it to its pot. This pre-soaking ensures your Orchid has sufficient moisture to sustain itself for a few days in your absence.
Final Thought
In conclusion, mastering the art of watering orchids is a journey of understanding the delicate balance between hydration and aeration, tailored to the specific needs of each orchid species. By observing cues from your Orchid, implementing proper watering techniques, and utilizing innovative solutions for hydration, you can cultivate healthy, vibrant orchids that flourish year-round. Remember, patience and attentiveness are key as you navigate the intricate world of orchid care. With diligence and a little bit of knowledge, you’ll soon find yourself enjoying the beauty of flourishing orchids in your home or garden. Happy growing!

