Welcome to my blog post dedicated to the rejuvenating process of repotting your Aloe Vera plant. This guide will explore when and how to repot your Aloe Vera for optimal growth. Whether you’re a seasoned gardener or new to plant care, this guide has all the essential tips to ensure your Aloe Vera thrives in its new home. Let’s dive in and revitalize your plant together!
Benefits of Repotting Aloe Vera
Repotting Aloe Vera isn’t just a mundane task—it’s a transformative experience for your plant. When the roots receive the VIP treatment with additional space, they can stretch out and establish a stronger foundation, resulting in a healthier and more resilient Aloe. Moreover, the availability of fresh soil provides a rich array of minerals, revitalizing the nutrient profile and promoting robust growth.
Promoting Healthy Roots:
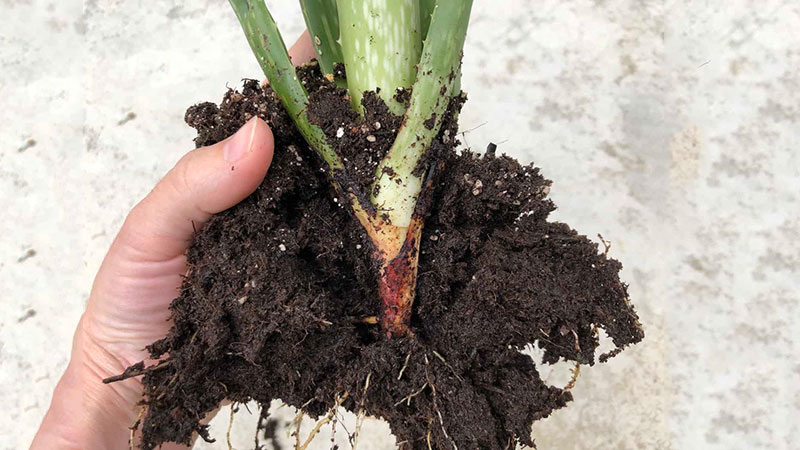
Repotting can be likened to upgrading to first class for your Aloe’s roots. Freed from the confines of a cramped container, roots can spread out and absorb water and nutrients more efficiently. This fosters the development of a sturdier plant that is less prone to toppling over with accidental nudges.
Flower Power:
Contrary to popular belief, Aloe Vera can bloom, and repotting may serve as the catalyst it needs to unleash its full potential. Those elusive, exotic flowers could grace your living space with the right environmental conditions. Repotting acts as the gentle push needed to coax a shy performer onto the stage, revealing the hidden beauty of your Aloe.
Enhanced Nutrient Absorption:
Fresh soil acts as a reset button for your Aloe’s nutritional intake. It replenishes essential nutrients that may have been depleted in old, exhausted soil. Think of it as swapping out a stale sandwich for a gourmet feast—your Aloe will respond with vibrant, vigorous growth as it luxuriates in the newfound abundance of nutrients.
Determining When to Repot Aloe Vera
It is about 2-3 years since the last repotting
Aloe Vera, renowned for its resilience, doesn’t demand frequent repotting. Instead, it thrives with a repotting schedule every 2-3 years. This interval provides ample time for the plant to establish itself while ensuring it receives the necessary care to flourish.
Spring is the suitable season for repotting, coinciding with the plant’s emergence from dormancy and preparation for active growth. With longer days and warmer temperatures, spring offers an ideal environment for your Aloe Vera to thrive in its new home.
Your Aloe Vera is too large
If you notice that the roots of your Aloe Vera are protruding through the drainage holes of its current container, indicating that it has outgrown its pot, it’s a clear indication that it needs to be repotted into a larger container.
Your Aloe vera is stunted
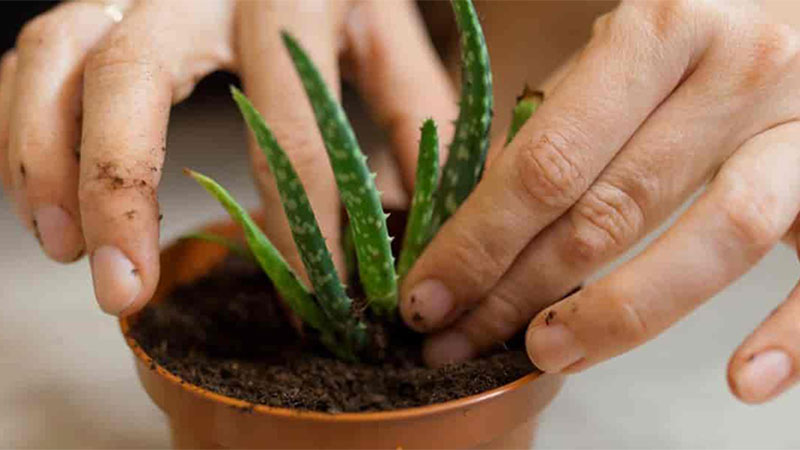
When you observe that the leaves of your plant appear thin and lackluster, resembling the appearance of leaves deprived of proper nutrition, it’s a strong indication that your Aloe Vera is in dire need of more space to grow. Additionally, this lackluster appearance often precedes nutrient deficiency, leading to a noticeable change in the vibrant green hue of your Aloe’s foliage to a dull yellow, signaling that it requires a larger container with fresh soil to replenish essential nutrients and foster healthy growth.
Your plant reduces water retention
Suppose you need to water your Aloe Vera more frequently than usual. Yet, the plant still appears dehydrated or lacking in moisture. In that case, it’s a strong indication that the current pot is insufficient in size to retain an adequate amount of water for the plant’s needs.
The growth of Aloe Vera has reached a standstill
If the growth of your Aloe Vera has stalled, it may be a sign that it needs a change of environment. When a plant becomes pot-bound, its growth is inhibited by its confined root system. Remember, these signs are signals to take action and a plea for assistance. By paying close attention to these indicators, you can ensure your Aloe thrives with robust growth and perhaps even rewards you with a flower or two if you’re fortunate.
How to repot aloe vera
Before repotting aloe vera
Choosing the right soil
Before repotting your aloe vera plant, selecting the best soil is crucial to ensure its optimal growth. Here are some key considerations:
Optimal drainage: Aloe vera thrives in well-draining or dry soil, similar to cactus mix, as excessive water retention can lead to root rot.
Good aeration: Choose soil that promotes good airflow, allowing the root system to absorb oxygen efficiently, which is essential for healthy growth.
Nutrient-rich: Like any indoor plant, aloe vera requires nutrients and organic matter to thrive. Look for potting soil that provides ample nutrients to support vigorous growth.
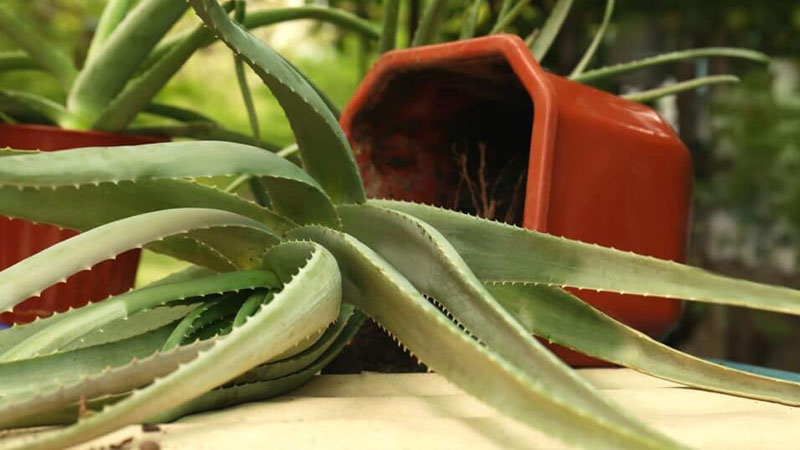
Additionally, avoid soil mixes containing unsustainable additives such as peat moss, coco peat, and perlite, as they may not be beneficial for the long-term health of your aloe vera plant. Selecting the right soil ensures your plant has the best foundation for continued growth and vitality.
Selecting the Right Container
When selecting the right container for your aloe vera plant, it’s important to consider several factors to ensure its optimal growth:
Material:
Aloe vera thrives in porous pots that promote water and airflow, such as ceramic or terracotta pots. Choosing a pot with drainage holes is essential to allow excess water to drain out of the bottom, preventing waterlogging and root rot.
Size:
The size of the pot is crucial for the health and growth of your aloe vera. If your plant has outgrown its current pot and its growth is inhibited, it’s advisable to transition to a larger pot. However, it’s best to choose a pot that is only slightly larger than the previous one, typically about 1-2 inches larger in diameter. Avoid selecting a pot that is too large, as this can lead to the soil retaining excess moisture, increasing the risk of root rot.
If you prefer to keep your aloe vera at its current size, you can reuse the same pot with fresh soil. Ensure the pot is thoroughly cleaned to remove any old soil residue, as residual soil may harbor harmful microorganisms that can infect your plant. Wash the pot with soap, rinse it well, and pat it dry before adding new soil for repotting.
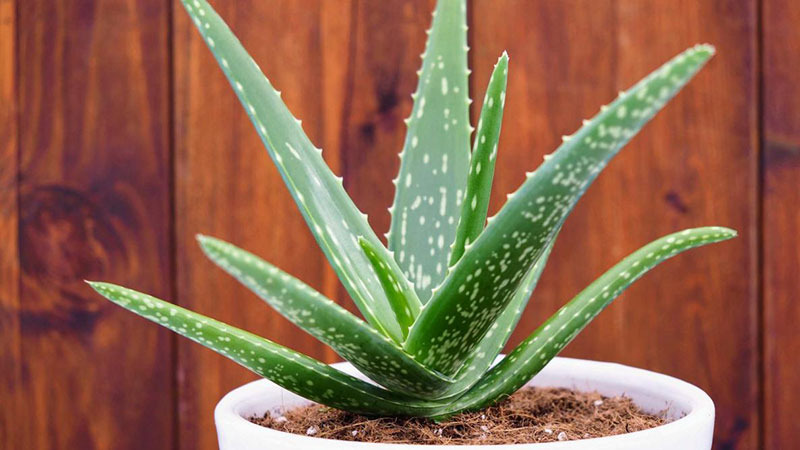
By carefully selecting the right container and following these guidelines, you can provide your aloe vera plant with the ideal growing environment for continued health and vitality.
Water the plant
Before repotting your Aloe Vera, it’s important to water it 3 to 5 days beforehand. This ensures that the plant is adequately hydrated but not excessively moist. Repotting a dry, stressed plant can shock its delicate root system while repotting an overly wet plant can lead to complications such as root rot. Finding the right balance in watering ensures that your Aloe Vera is in the optimal condition for repotting, promoting a smooth transition and minimizing stress on the plant.
During repotting aloe vera
Step 1: Remove the pot
When removing the pot, handle the plant gently and avoid pulling on the trunk or branches. If the pot is difficult to remove, use a small knife to loosen the soil from the edges or gently tap the outside of the pot to loosen it.
Step 2: Separate any offsets ( pups or “baby aloe vera”)
If you notice any pups, especially larger ones, consuming significant space around the base, removing them promptly is advisable.
Not only does this practice allow you to propagate more Aloe plants, but it also prevents the pups from sapping nutrients from the main plant. Separating them now promotes optimal growth for both plants.
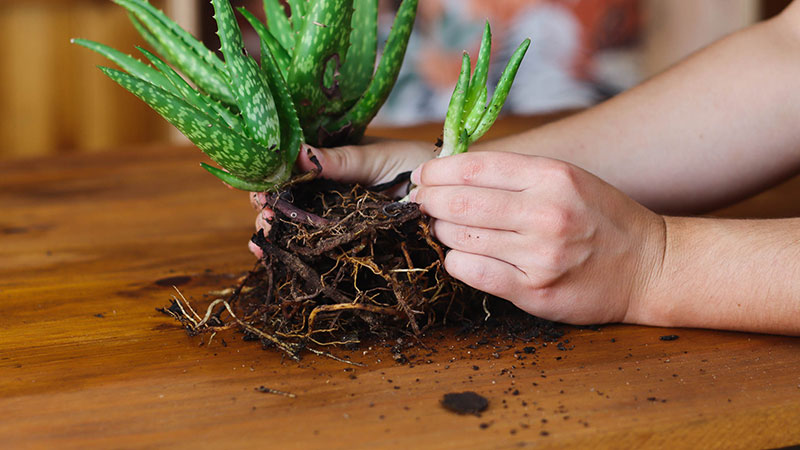
For smaller pups, gently pull them apart from the parent plant, ensuring they have a few inches in height and sufficient roots to thrive independently. Larger pups may require cutting with pruning shears or a sharp knife.
If the separation areas aren’t clear, rinsing off the soil around the roots can provide better visibility, minimizing the risk of damage during removal.
Step 3: Prune the roots
Inspect the roots and prune away any dead, moldy, or rotten portions. If both the soil and roots appear healthy, minimize handling of the root ball to reduce stress on the plant. If there are thick, coiled roots, gently loosen them with your fingers or trim them as needed.
If you reuse the same pot, shake off excess soil from the plant and trim about 25% of the roots to maintain the plant’s size and freshness.
Step 4: Pour soil in the bottom of the pot
Before placing the plant in the pot, add soil to the bottom to ensure the root ball will sit a few inches below the edge of the pot. This prevents overflow when watering.
Step 5: Put down the plant and Add soil
Once the soil is in place, position the plant in the center and add more soil around it. Tap the soil with your fingers to firm it up and ensure the plant is not planted deeper than before.
Step 6: Water
Water the plant until water begins to drain through the bottom holes. If the plant was recently watered, you can skip this step and follow your regular watering schedule.
After repotting aloe vera
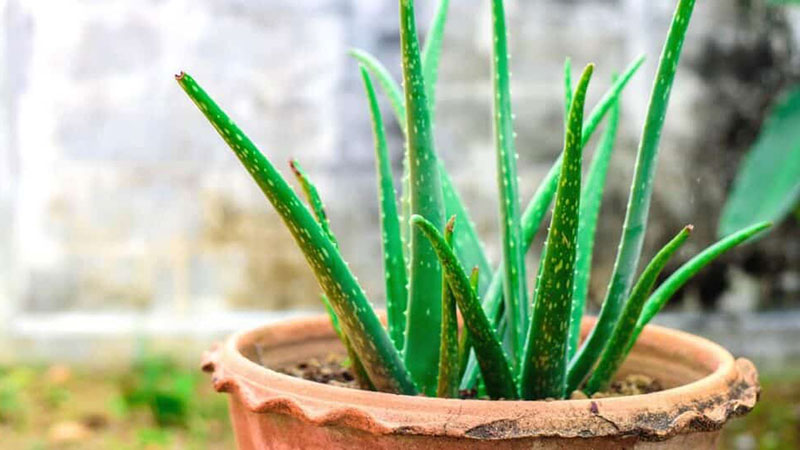
Repotting can be a stressful experience for plants, and it typically takes approximately one month for them to fully recover and acclimate to their new environment. During this recovery period, it’s important to provide optimal care to support the plant’s transition:
Placement:
Position the plant in a bright location with indirect sunlight, ensuring it receives adequate light without being exposed to harsh direct sunlight.
Watering:
Maintain a regular watering schedule, but avoid overwatering. Follow the watering instructions provided by Planta or based on the plant’s specific needs. Consistency is key to preventing further stress on the plant.
Avoid fertilization:
Refrain from feeding the plant during this period. The new soil already contains sufficient nutrients to support the plant’s growth, and adding more fertilizer can potentially harm the already stressed roots. Allow the plant time to recover before resuming fertilization.
Final Thought
In conclusion, repotting Aloe Vera is a transformative journey that not only refreshes its living space but also promotes healthier growth and vitality. By providing the right soil, container, and care during the repotting process, you’re setting your Aloe Vera up for success in its new environment. Remember to monitor its progress, adjust watering and light as needed, and enjoy watching your Aloe Vera flourish and thrive. Here’s to a happy and thriving plant journey ahead!

